Here it is...May's kit - in all it's glory! This month's kit is loaded with texture - not color!
Included in this months kit: 7 Gypsies Collage Tissue Paper, Prima Resin, Little B Washi Tape, Tim Holtz Plaquettes, Petaloo Color Me Crazy Flowers, Inky Antics Honeycomb Paper, Maya Road Vintage Pearl Pins, Maya Road Acetate Embellishments, May Arts Ribbons, Plastic Canvas, Tattered Tangles, and Textured Wallpaper
The kits will be sold for $12.00 each (not including shipping or tax).
The 'Buy Now' button will provide the shipping options available to you and include the updated price of shipping. Tax will be added once you proceed through the PayPal cart.
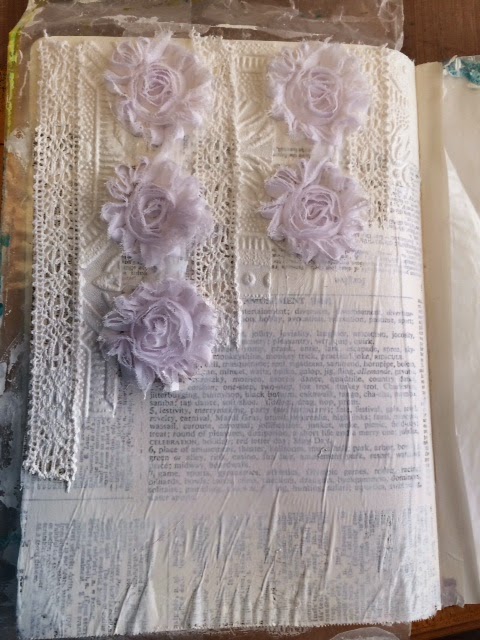
Grey Gardens:
Kit items used: Textured Wallpaper, Resin, Ribbons, Flowers, Plaquettes, and Washi Tape.
Summer in the City:
Kit items used: Tissue Paper and Acetate embellishments
More details of my pages will come later this week (I hope) in a separate blog post.
This months guest designer is a wonderful friend - Nicky Burge. I have only known Nicky for a few years but am truly inspired by her pages and especially her willingness to try just about anything and always willing to grow by working outside of her comfort zone! Nicky doesn't have a blog (yet, I hope), so we may have to encourage her a bit (hint hint)!
"Payton" Scrapbook Page:
This is where I start putting down elements, deciding placements of several of the kit pieces along with ephemera from the
Prima Epiphany Collection
Decided I needed some more color - so why not color the flowers using more
Little Lindy's Pinks (Hottie Patottie Hot Pink)
Now time to do some more layering and addition of Prima Flowers. I think they are a perfect patch!
The pins, pearls and ephemera really work on the page (along with some fiber from last months kit)!
The page is amazing!
Kit items used: Resin pieces, acetate embellishments, textured wallpaper, vintage pins and flowers.
Life Journal:
In my art journal, added ribbon, wallpaper and flower ribbon to the page...
then some tissue paper.
Using a spatula, I applied
Light Modeling Paste between some of the ribbon carrying it down towards the end of the page.
After applying more
Gesso over the page and ribbons, I added color using Lindy's Midnight Rendezvous Raven (from discontinued set Totally's 80's)
Added a Plaquette
And a Title.
Dark Knight (Art Journal Page):
using the same technique with the brayer, I added Salty Ocean
Distress Paint.
Now time for some fun! I had to look up on the internet what it even was! It had my curiosity peeked! I cut out the shape of a house from a Tim Holtz Alteration Die and cut it in half and glued it to the center of the page (at the fold).
While it was still wet, I dragged the paint down to the bottom of the page.
Using the second step of the stencil, I outlined the building using Modeling Paste.
To make the center building stand out more, I added some Black Gelato.
Nicky's kids helped her finish off the page as she thought she needed a title. They said it looked like Gotham City, so she named it after Batman.
I absolutely LOVE this page! She really did a fabulous job on it. Be sure to leave your comments on her work. I am sure she would love the positive feedback.
One more kit to come before Summer break! Then back again in September!