Showing posts with label book binding. Show all posts

Monday, October 14, 2019

The Journey Continues...

...the junk journal journey that is!  I have been having a blast creating these jump start junk journals, using lots of the vintage papers I have purchased. Over this holiday weekend, I created two more. One is more or less done as far as the 'jumpstart' factor, the other simple just needs to be stitched into the cover.

Here is the 'ready to be junked' one:


  I pulled out a couple of my bundle purchases from Suzy at PaperHarborCo as I wanted to use them to actually create the base of the journal.  The first thing I did was pull all the papers out and apart and sorted them into similar sizes.
When I stack, I take into account the direction as well as size of the papers - I definitely like to mix it up. My papers are stacked in an organized yet random pattern. If a paper is too long, I simply offset the centre to accommodate for a folded flap that can be manipulated later.

Today I decided to make my cover 'fit' the subject matter.  I don't often do it this way, but since I had it, thought it only fitting!

I created three signatures for this journal, it fit perfectly.

Once I gutted it, I secured the spine with book tape - overlapping it in the centre for extra security before stitching.
Now it was time to get to the mathematics of formatting the template for hole placement & stitching. I usually create a template the length and width of the spine.  I measure out the vertical and horizontal lines. For the vertical lines, you need to take into account the number of signatures to be used and centre accordingly.  As for the horizontal lines, I always measure in one inch from the top and then one inch from the bottom for my starting points.  From there, I measure the centre between those then the centre from the top to centre and bottom to centre - clear as mud, right?!
There the lines cross are your future stitching points and need to be punched out.  I use an awl and a foam pad. The pad is simply to protect my mat underneath.  You can also use an old phone book or the guts from your book if you are not going to use them in another project.
A few things to note on the photo below - 
1. mark your template with top and bottom. It makes a difference when you go to punch your signatures.
2. mark your signatures with pencil so you can line up your template. 
3. you can see that the template is longer than signature, I centre it on the signature and make my pencil marks
Now start punching.  As this is the first signature, you need to punch through the signature from the centre fold
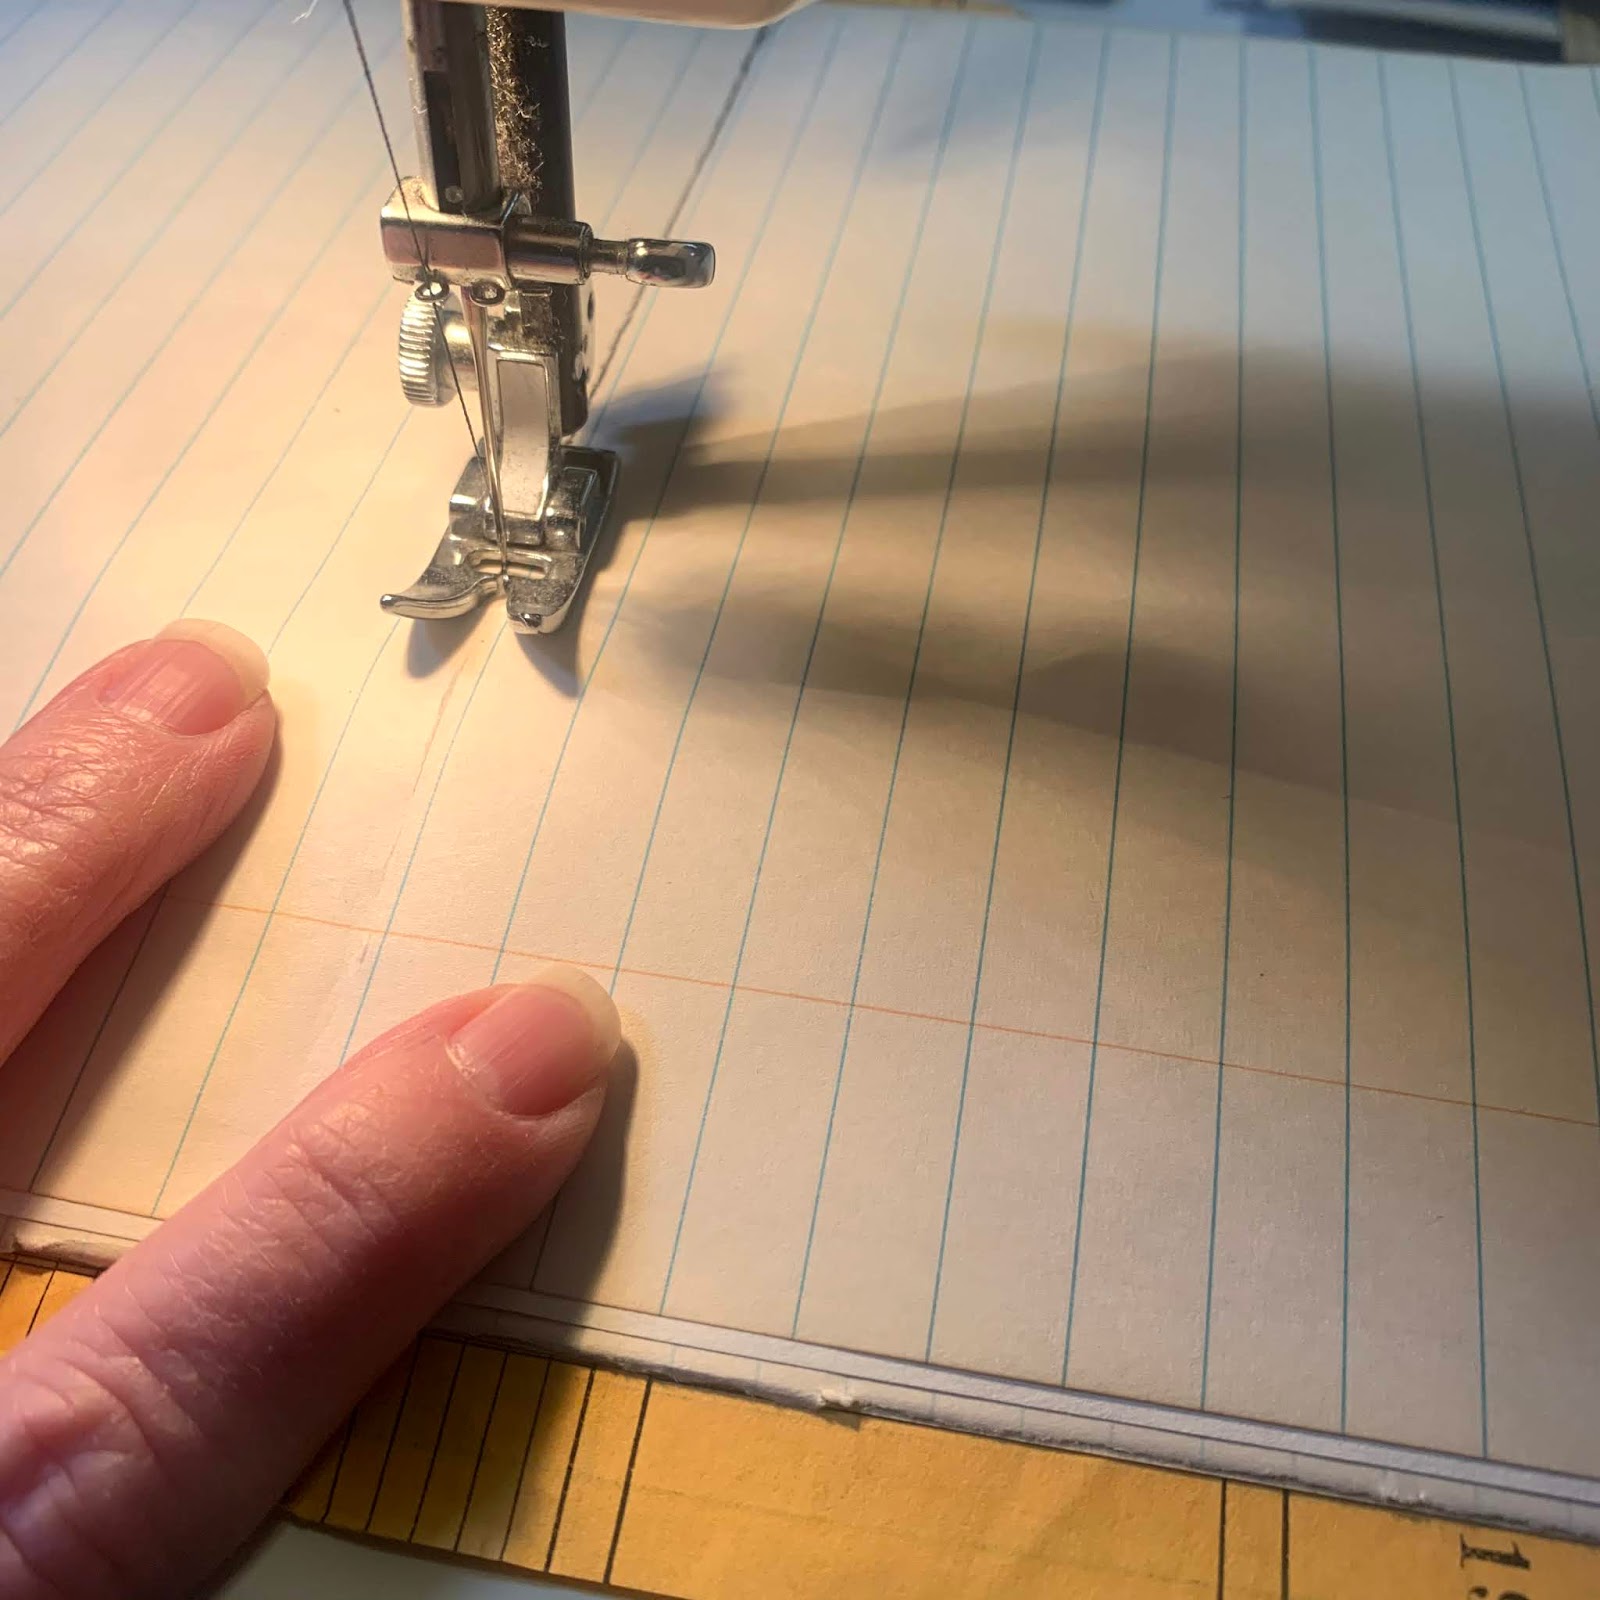
Now it it time to start stitching. I use the basic five stitch which is very simple to do.  You can find the how to anywhere on the internet. The photo below actually shows me adding the second signature - this is where it shows the importance  lining up your holes.  One thing I will say is that I use way more cord than one probably should, but it is because I wan the tight stitching and to do that, I need to be able to see where my needle is going....preferably into the right hole!

This next photo show how it looks before you complete the full five stitching, it is a very important part.  There is thread at the top and bottom, and you need to pull the two threads away from the book - pull up and pull down all while keeping your hands and threads lateral to your book back.
There she be, all three signatures in and secured.
Here is a little peek inside, you can see the layers and folds...
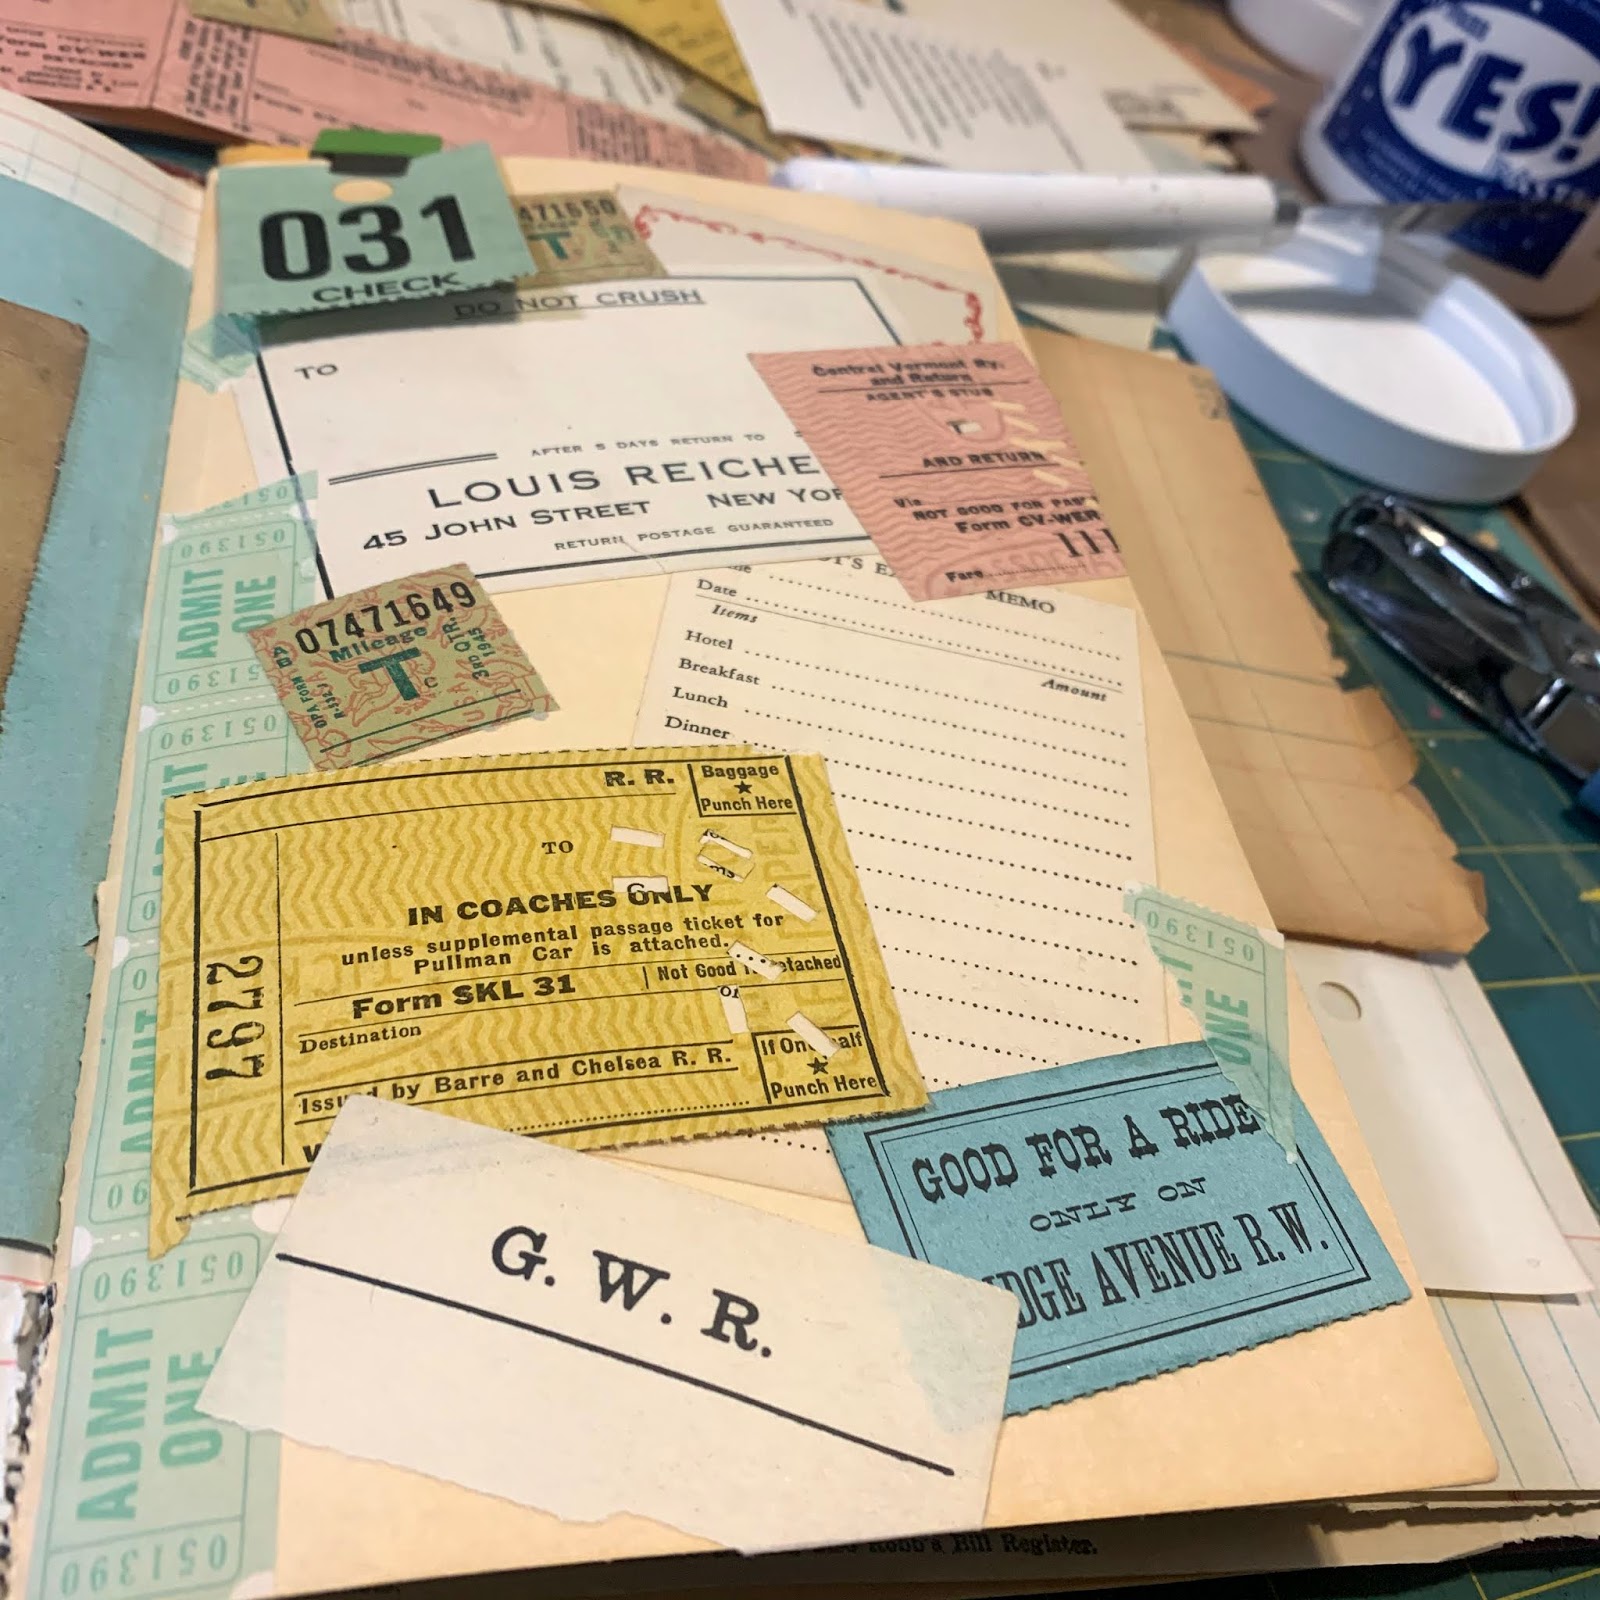
...and look at all the goodies that are ready to be added when the time decides!

I also started work on this one...

It has four signatures - each one a little different.  One all blank ledger sheets, one all written on vintage ledger sheets, one mixed ledger sheets and one mixed office papers.

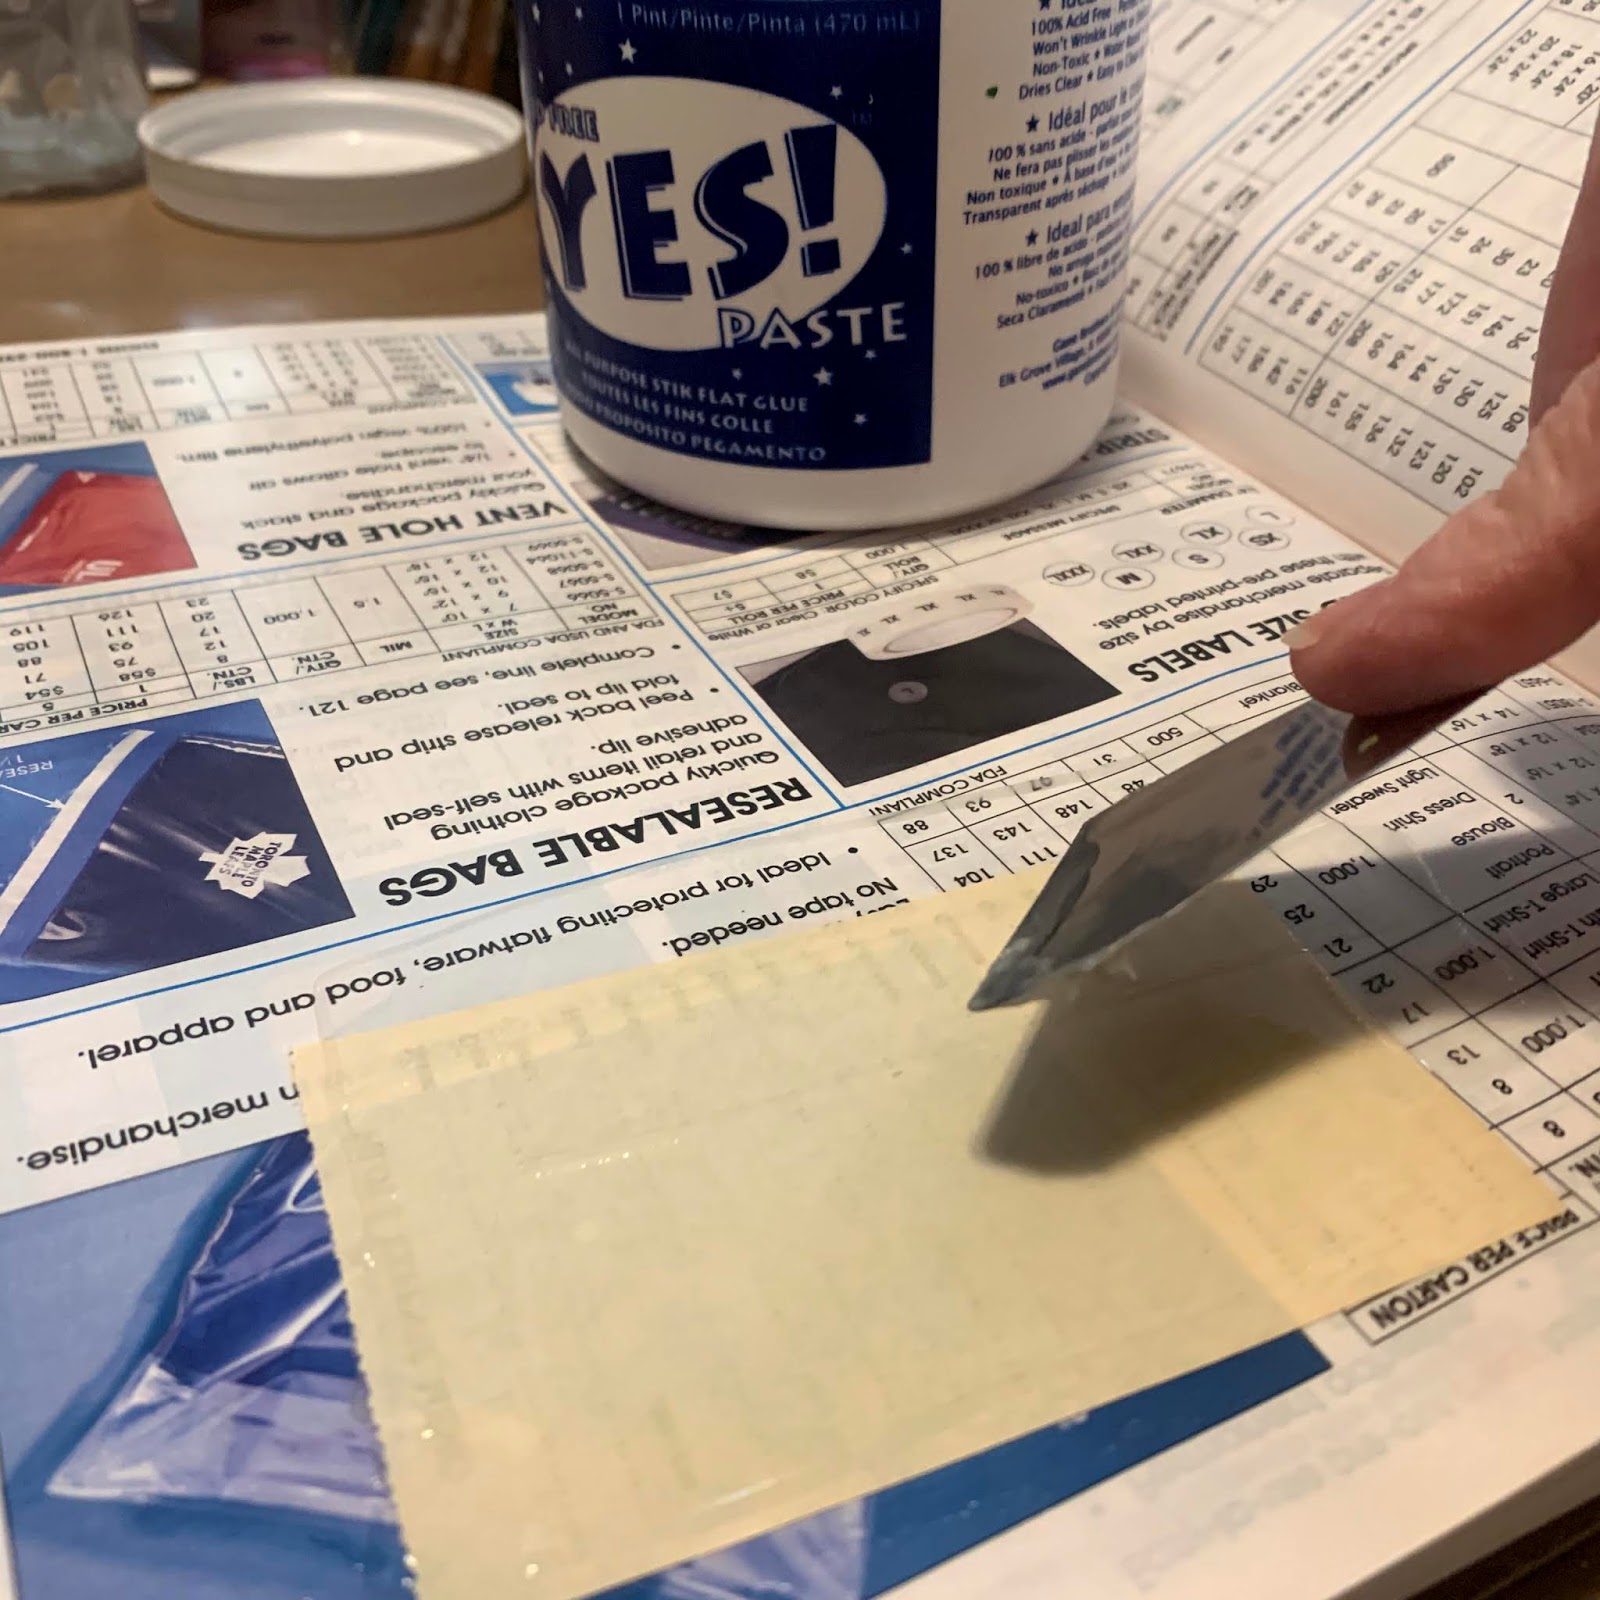
I have my book gutted, template all measured out and ready to punch the holes through the signatures.  then all I have to do is stitch them into the book.  The one thing I did differently this time around, aside from four signatures, is I glued on vintage ledge pages to the inside covers.  They look awesome!

Thanks for popping in. Hope you enjoyed seeing my process, be sure to leave a comment with any questions and hop on over to Instagram or Facebook (@w2studioarts) to follow along where I tend to post more regularly.


Friday, October 11, 2019

Imperfectly Perfect...

....that is what I like to call my journals.  Why you ask?  Stay tuned.

For now, my story will begin where I left off on the previous post. The second bundle...


Suzy, being the angel that she is, also included a wonderful bundle of vintage goodies to inspire me...and that she did! 


She knows me, she really really knows me! 

This book cover though...🖤🖤🖤

As soon as I saw it and the folders papers, I knew what I was going to do!


Do you think this is what she intended?

Are you wanting to get your hands of some of Suzy's goodies?  Head over to her Etsy Shop PaperHarborCo and don't forget Instagram @PaperHarborCo.

I pulled out all the papers and sorted them into sizes and started stacking and layering them into position.


I just wanted to point out these next two images - these are held together by a grommet....yes, a grommet! Is that not the coolest!!


As much as I didn't want to dismantle it, I had to for the sake of the journal! 


There she be, folded and almost ready to bind it together...

There are about twenty sheets, papers, tickets, receipts, stubs, tags, labels and more folded up and ready for the sewing machine.


Making sure it was all lined up on how I wanted, I set up the machine and hit the pedal!


Due to some of the papers being older (and in this case, this one was brittle), I added a couple pieces of white washi tape to secure the papers and the stitching.


Front and back.


This will also aid in securing the signature to the book cover in my next step.


Centering the signature on the book cover, I measured out where I needed to punch my holes for stitching.


The one thing you need to make sure when binding your own books, it that when you measure and punch your holes.... you need to make sure your have the cover and papers going in the correct direction....


Needless to say, I thought I did, checked...should have checked twice! So out the stitches came and I flipped it over and stitched it back up. So this is what happens when you don't double check!


But you know what, now it is officially a member of the Perfectly Imperfect Journal club....welcome!

I don't have an issue with my binding stitches not always being straight.  I knew I wanted the inside to be clean and the knot to be on the outside, so I covered the stitching and the knot with a strip of printed duct tape


It is not a thick journal, but it is a loaded up with fun papers that I will get lots of fun add ins with the remaining papers, tags and such from Suzy's bundle. It will no doubt get bigger and better!


It's looking perfectly imperfect so far isn't it?!


This is the point in which I would normally sell, gift or start another journal.  Most of my journals are what I also like to call a Jumpstart Junk Journal, they just happen to be perfectly imperfect!  Allowing the individual the opportunity to add their own personal touch is pretty epic in my option, it provides ownership as well as pure gratification.

Speaking of ownership and gratification, I have continued playing and adding to this journal.  One of the most wonderful aspects of creating in this format of a journal, is that it is only done when you say it is done.  The above photos where from what I created in a matter of maybe 90 minutes.  The following, are from me playing for about two and a half hours.


But first, I want to give you a brief how to and what for when I create in my paper journals.

These are my basic go to must haves tools: 
  • YES! Paste - it is an acid free, water based, archival and allows me to get zero wrinkles;
  • Metal Palette Knife (my favorite for this work is an angled);
  • An old catalog (in this case, a Uline) to use as your mat for applying glue. you simply just turn the page when you've used all areas;
  • Bondo Spreader (multi set) for getting out excess glue, bubbles and wrinkles. I picked up my three pack at the local Napa Auto shop for under five bucks;
  • Baby Wipes, for quick clean ups and wiping off of access glue on your collage papers and substrate.


Here I apply the back side of the vintage paper carefully with the palette knife being sure to get all of it.


Then I use the bondo spreader to smooth it out and get excess glue, bubbles and wrinkles out.


I will then use the baby wipe to carefully wipe away excess glue.


Now it is just a matter of picking and choosing what you want to add to your page.  I will often build layers of papers, washi and tags. I tend to overlap items and wrap around the edges.  I will also clip and/or staple along the way.


It is often a hit or miss on what I add, take away, include and discover as I create in these.  I do not feel that I need to have a theme per se - it is just stuff that makes me happy.

I started added goodies to the pages I had included in the main signature...

This was an old school computer card, that had been overlapped with another that created a mini pocket that I secured with washi tape and tucked in a few ticket stubs.  Since this was the back of the card (blank), I added a cute little vintage Sierra Railway Company ID Slip that I will no doubt add doodling to at some point.


This is the inside cover, I loaded it up with a shipping label that I included some journaling on, then proceeded to cover most of it up with these awesome Luggage Labels I snagged from RubyDogArt Etsy Shop (p.s. she's Canadian, for all my Canadian viewers)!


You can see now that I do not work in order either - it seriously is so much easier and freeing if you just allow your self to just create - the only rule is to have fun.

I won't bore you too much with silly details, you can simply peruse the images and take it all in - there are so many interesting and unique bits and pieces I have added in along the way.  I do want to give a shout here though to Esther of BadAssPaperLover (based out of Amsterdam) as I have several of her items on the page on the left.  She also can be found on Instagram and has an Etsy Shop too.


I wish I had looked closer when I was assembling this journal as I would have included the letter that was tucked inside this envie....
But now, I simply glued the envelope to the page and now I can pull out the letter and read it!


I grabbed a stack of receipts and used a  prong fastener to secure some to each side of the onionskin page.  I can add lots more at any time! Talk about making the most of one attachment!


I liked that so much, I did it again further in the journal, the other side of the file folder.  This time, I layered the papers in  size - large on the bottom and small on the top.


She's starting to bulk up, and I must say, I am really loving it.  


Thanks for sticking around.  I will be back next week with something new!

In the meantime, be sure to check out my feed(s) on Instagram and Facebook
@w2studioarts

That Other Neutral Triptych

  That Other Neutral Triptych wrapped canvases 10x10x1.5" (x3) professional grade artist materials I worked on this smaller series at ...