It usually starts with a basic idea on how I want the paint or collage to begin. In this case, I had the idea of wanting to apply the collage on top of the blended base. I dug back a ways on a class I took from Julie Prichard called Layer Love V2.0 where one of the lessons showed how to work with Fluid Acrylics and Open Medium to get maximum blend ability. I have really been hung up on yellows for quite some time so wanted to try once again using it in a triad.
I pulled Raw Sienna, Burnt Sienna and Payne's Gray (along with my neutrals Titan Buff and Titanium White). Raw Sienna tends to the dark the dark side, so I mixed with the Titanium White then with Titan Buff, simply looking for the perfect hue. Each time, I am adding Open Medium with the paints and applying to one side of the canvas.

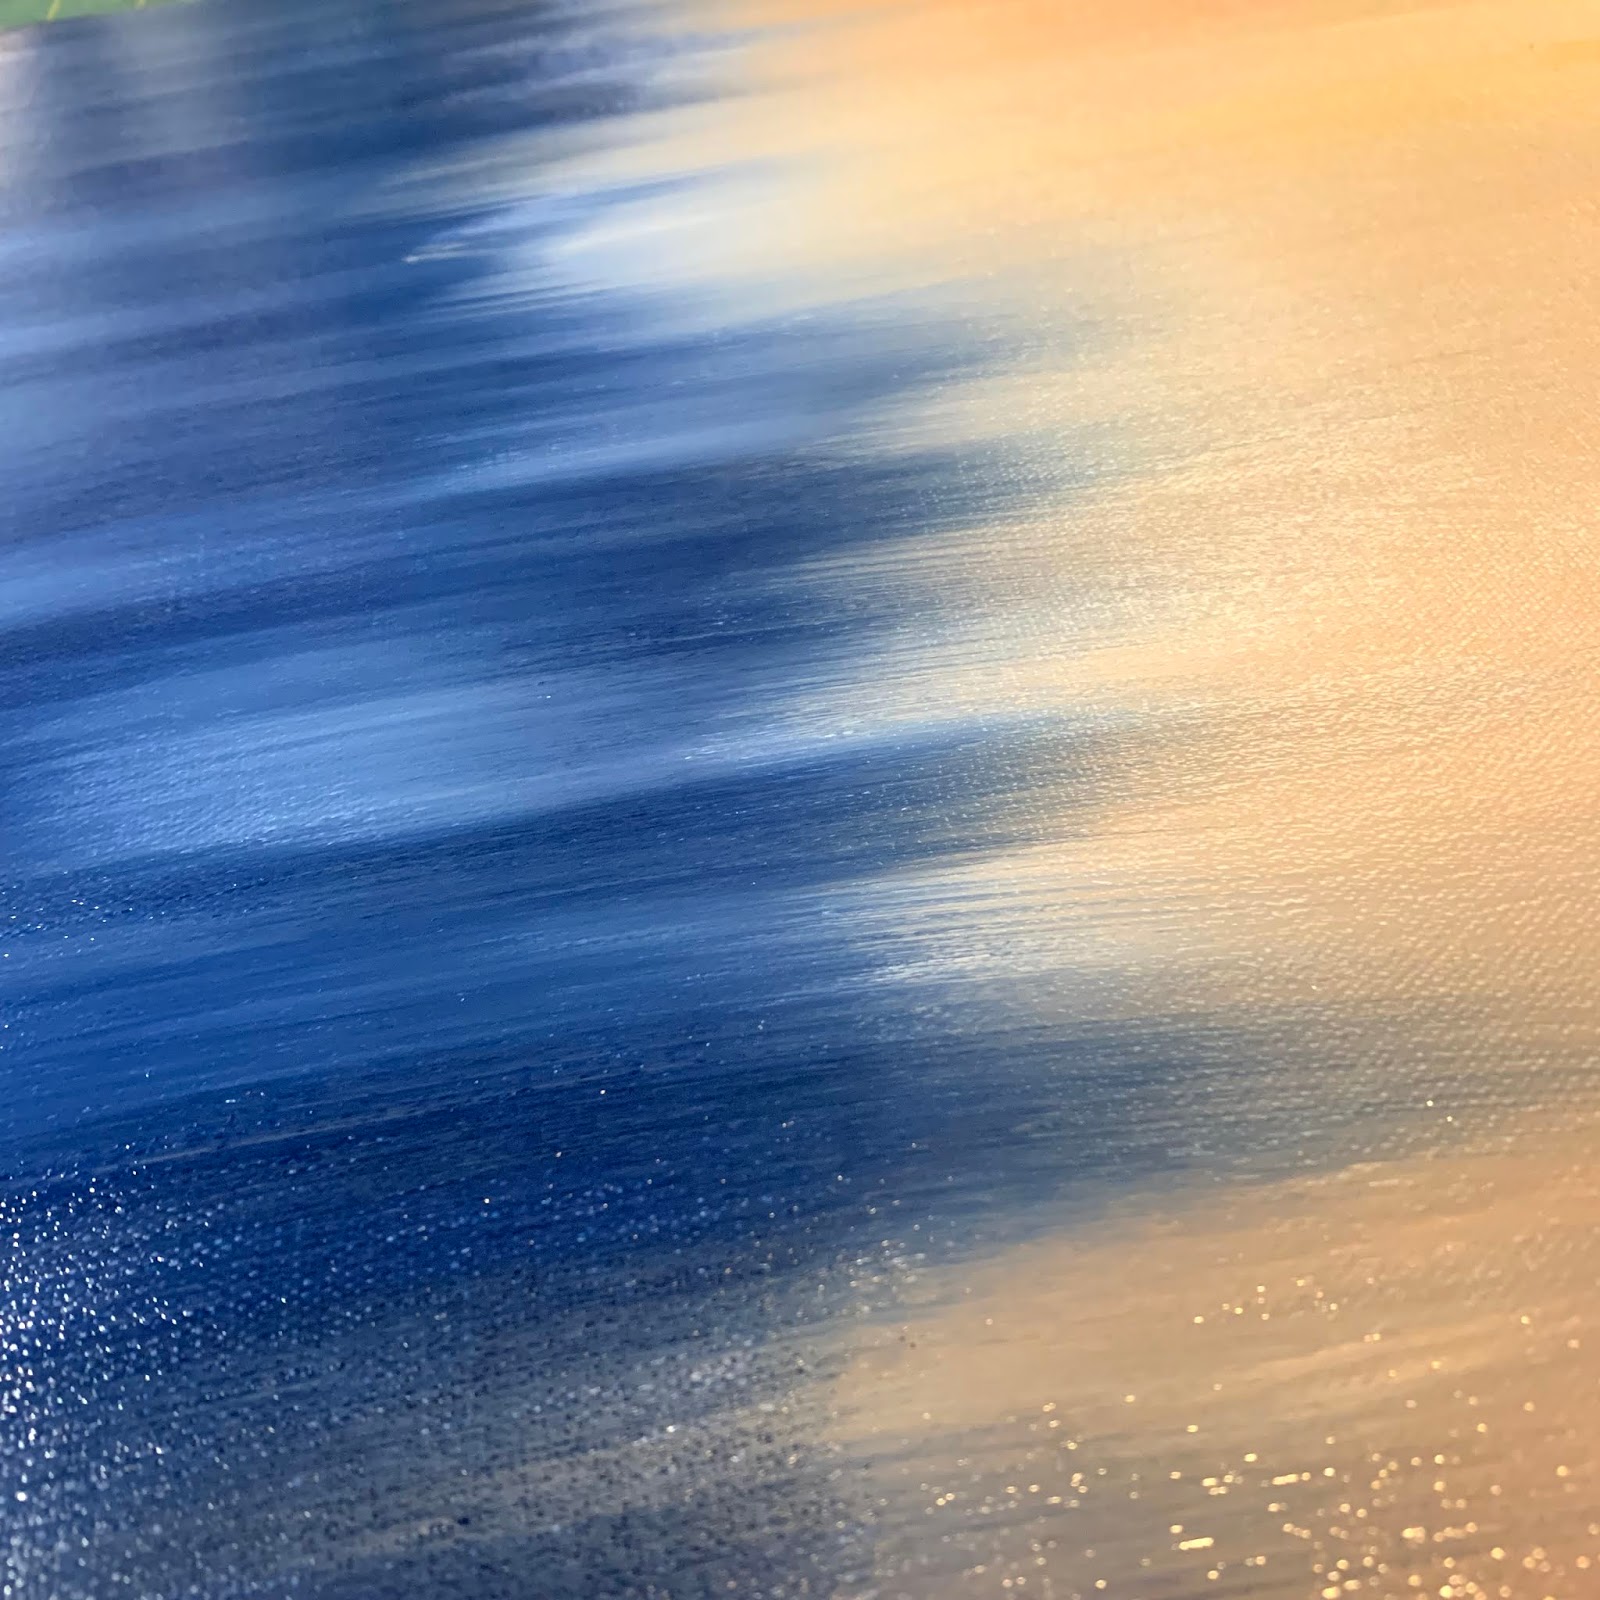
I then repeated on the opposite half this time using Payne's Gray.
I next tried adding the Burnt Sienna. As amazing as it looked , it was simply not what I was after for this piece. The white you are seeing in the photo below is not white paint, but rather the open medium, it does dry clear so I was not worried about it at all. There are many pros and cons to working with open mediums where I live - it is not very dry, nor hot, and therefore each layer usually takes a day to dry.

Once I was done my blending I added some 'sgraffito' marks in the wet paint using my trusty skewer hoping that it would give me a jump start.


Came back yet again and tried to include the Burnt Sienna - I believe this is where I finally decided to put that bottle away.

I brought the Payne's Gray back, but mixed it heavily with the Titanium White and added lots (too many) sgraffito marks. Used a lot of baby wipes and deli paper to pull back and move the blue - frustration was definitely setting in.


Time for it to be put away for the day once again. There was a lot of paint on here.
I came back this day with an idea. I first added some more collage elements as some of my key shape areas were getting lost in the paint. I then pulled out something I probably haven't used in close to a year - Modeling Paste! I mixed the Raw Sienna with the Modeling Paste and with a heavy hand, applied it to the canvas with my palette knife. The big thing I took into account as I was mixing the two, is simply to not over mix it. I used Light Modeling Paste and as it has the consistency of Buttercream icing, I find if you mix it too much you simply mix out the air (it deflates) I wanted it to be light and streaky. And you know what...it worked.
I once again added more sgraffitio marks, basically in the same areas as before as they had been covered with the new layers. I also wanted the blue below to pop through. I was heavy handed in areas and then light in others. I also used my palette knife when needed to smooth over areas that were too rough.


You will note that there are different color variations on the photos, that is usually due to the time of day and/or if I had the light shinning on the canvas.
It was not time for it to dry and it was going to take more than a day! Good thing we were headed out on a mini vacay to see family!
Back with fresh eyes and another idea I started to plan it out. I knew I wanted to stitch on it, but wasn't sure if I wanted a twill, embroidery thread or jute. As I was looking for my jute, I saw some brads...idea!
Now did I have the guts to do it?

Does that answer your question? I took the time to measure them out and very happy with the results!

I decided on a simple loop lace up and really like the simplicity of it and of course the lines.

Currently it is sitting up on my desk waiting to be vanished, which I should probably do soon before I decide to add to it and change it totally! But for now, I'll move onto my next piece.
18x24x1"canvas
collage elements purchased from: PaperHarborCo, MadFoxStudio, SalvagenationVintageVanessaPope and RubyDogArt
All can be found on Etsy & Instagram


2 comments:
I really love this so much! All of it. The process is just as interesting and inspiring as the finished project!
Thank you Suzy, it was definitely a process on this one...just goes to show how we all struggle through art in some way or another! Thank you for checking out my blog!
Post a Comment