So here are some more of my playtime adventures!
This one is one that I have been wanting to do for a while now - and finally did....a WHITE page! I wanted it full of texture and it turned out even better than I expected.
I started out with gesso'g my page, added modeling paste through Dyan Reaveley Dylusions Stencils (Blocks & Triangles). Once dried (well, kinda) I painted the page with white heavy body paint.
to added yet another 'layer', I applied a coat of Ranger Anirondack Pearl Paint
then dug from my stash of stickers - some very old Heidi Swapp resist stickers (these was the first resist line she came out with many years ago...and they were even still sticky)!
Well, it was 'almost' all white! Couldn' resist doing this! Finger painted each letter (in the word color only) with Dina Wakley Media Heavy Body Paints.
thinking it needed a bit more, so simply dipped my finger in the paint and smudged it over each letter. So much better!
This next one was again a challenge I put on myself - using fibres! I pulled out a few different strips of fibres from my tickle trunk and applied them using Light Modeling Paste and Super Heavy Gel Matte Medium
Now I wanted to see if this would work...why not I asked myself?! Mixing Viva Decors Rusty Paper mixed equally with Golden's Acrylic Glazing Liquid.
I applied it with a palatte knife, waited about a minute
...then started wiping if of with a baby wipe.
Wasn't a fan of the color, so mixed another and went over it with a brush this time and repeated the same process as above.
it really does look better in real life than in these photos - the color is very rich.
Thought is needed more, so decided to add some more textures and elements.
There is a huge trend going on right now with string letters - so took my creative take on it and 'wrote' my own using Heavy Gel. I also added some washi tape (in this case Tim Holtz Tissue Tapes)
I had this strip of clear bling in my bag (for almost a year now, as Anita gave it to me last May as a challenge). I alterd the color by using Terra Cotta Alcohol Ink.
Thinking it might be a bit too blah for me...decided to add some blue (in the form of butterflies)!
there she be!
Now onto the next project - Gelli Printing! Decided to use my Mix Ur Media Kit from January along with the Gelli Plate. You will see, the results are grand - there are a few epic ughs along the way, but I am okay with that as of course, that is how one learns!
applied Dina Wakley Media Heavy Body Paint in Tourquoise onto my plate using my brayer.
stuck on the none stick shelf liner to create texture in the paint (on the plate).
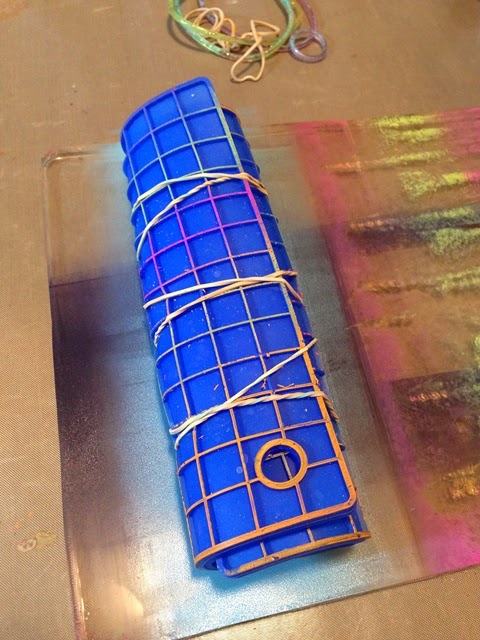
Also included a few of the rubber bracelets and rubber bands, then removed the image using a tag.
there is still paint and images on the plate, time to add another tag.
adding more colors!
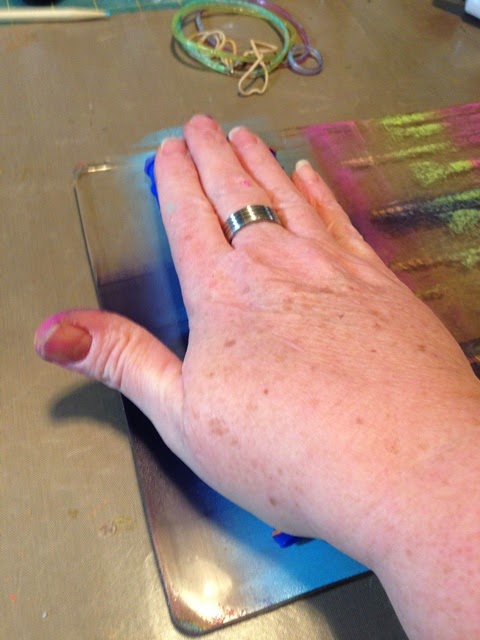
adding/creating textures using the silicone pad.
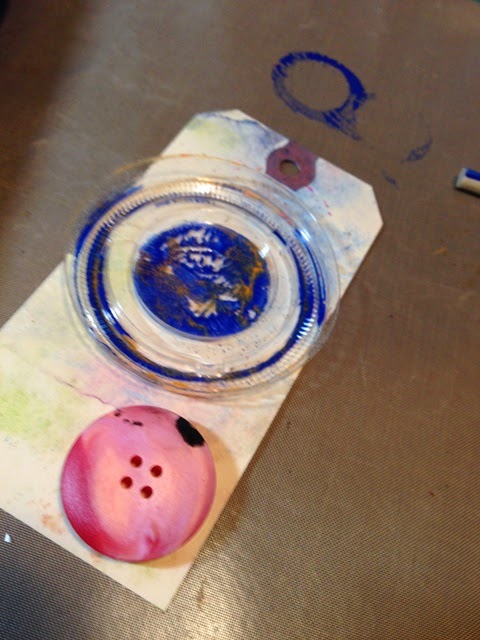
buttons...
cool, right?!
another tag, as there is still paint on the plate.
just a very light mist, and ready for more!
more texture...this possibilities really are endless!
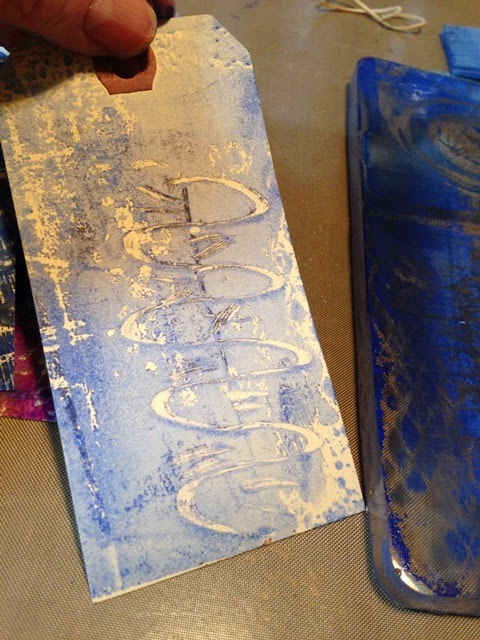
trying something a bit different - leaving one of the tools on the plate as I take away with the tag!
built in resist!
not wanting to waste, might as well use it as a stamp!
more color!
using an already 'printed' tag, adding something a little different without actually blending the paints fully.
there still is paint, so might as well use it!
it's getting sparse, but gonna try!
one color, one tag - just trying something out!
Going a bit retro here - 70's ring a bell?!
a good amount of paint left on the plate, created a cool texture with the comb
applied the tag...
see the image of the tag hole on the right side? Those are the little surprises that pop in when you do not clean the plate between colors!
texture...
another trial...one color and -
almost ALL the marking tools!
put on a full 8.5x11" sheet of paper
isn't it gorgeous?!
there is still loads of paint on the plate - so added a tag to take some of it off!
You can see there is still paint on there...
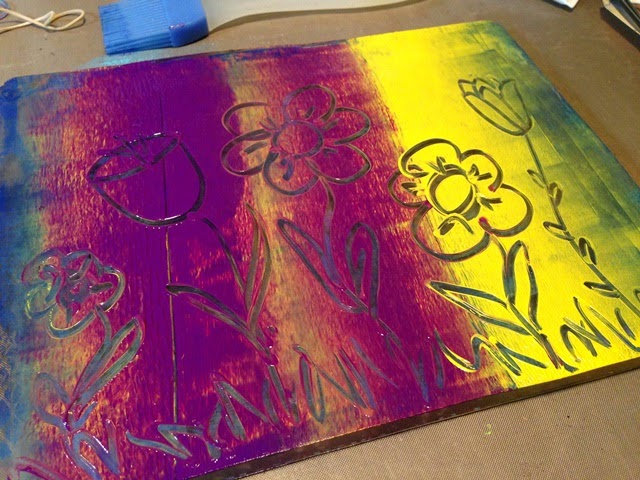
decided to use a tool from my own tickle trunk to create more texture.
then used a Popsicle stick to doodle!
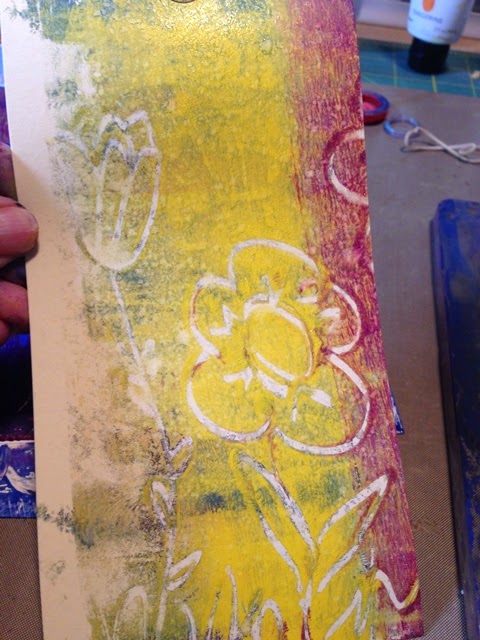
lifted it with a tag (or two...)
added some more paint then doodled over the entire plate.
here is the result on the paper! Love it!
of course there is still lots on the plate, so might as well make the most of it.
look at all the goodies I got from just over an hour of playing around! Now I can use these in future journal or scrapbook pages!
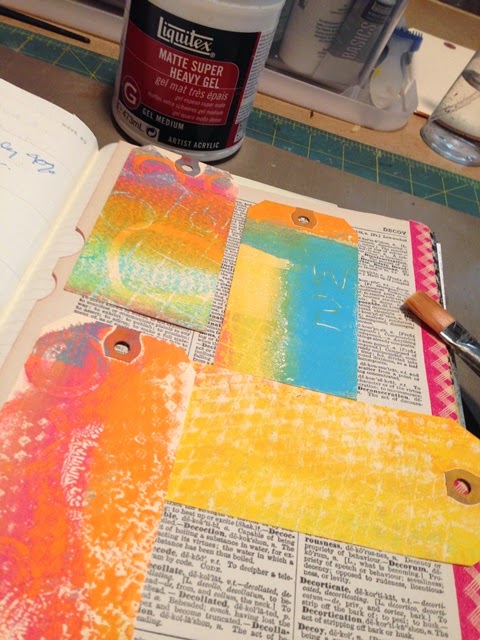
Speaking of pages...here goes the first one in my Documented Life Project (DLP) Planner. Using FOUR tags! Adhered them using Super Heavy Gel onto the dictionary paper page.
while that one dies, why not start another? This again is in my DLP Planner, this time on Media Paper. Kinda boring, needs some color underneath.
Once the page was gesso'd, I applied Dina Wakley Media Heavy Body Paint in Night (which is a very dark navy) using my palette knife.
so, now time to adhere tag onto the background with super heavy gel. Now has to dry!
back to the previous page (four tags) - stamping an image using one of Dina Wakley Media Stamps sets (Face in a Crowd)
adding her body using a All Stabilo Black Pencil.
only wanting to use part of the stencil, I taped off the unwanted areas. Having done that now, would strongly suggest using painters tape next time (as I have tackiness over the taped areas now).
using Ranger Ink/Claudine Hellmuth's Heavy Black Gesso, I did one word at a time (allowed drying time between each).
While the word was drying here, I finger painted the dress.
now time for a color job on the hair!
using my fine liner, I wrote the word time across my girl and added a stamped phrase along the bottom (from a Unity Stamp set by Donna Downey).
thought it needed some scribbling, so did so using my Black Fude Ball.
here is a close up...
Now time to go back to my retro page! Thinking about time I used one of my masks!
keeping with the retro theme - used some Orange (Ranger Adirondack)
Since the mask had a good amount of paint on it, decided to use is as a stamp on yet ANOTHER page!!
here is the image after the mask was removed.
Guess I need to work on the yet 'another' page (what have I gotten myself into here)! The spray I used on the green one, is a mix of the Ranger Adirondack Citrus with water in a spray bottle. Once dried, I laid out Donna Downey Studio Scribble Stencil and sprayed using a Lindy's Stamp Gang Spray.
oh my! are you keeping up here - cause here is yet ANOTHER add on! This one is from the left over spray for the stencil above (this is as far i got on this one)!
okay, time to get back to where I started....I think! When I was taking apart the word from this stamp set All Gals, I thought the discard piece was quite retro in itself! It's a keeper!
My only mistake here was I spritzed it with water and of course shouldn't have! But that is okay, I will go in and paint it a second coat with a brush. But I am loving the scribbling around the mask!
keeping with the retro...pink polka dots!
using my white signo (any journaler must have)!

and a final close up!

time to finish up the almost last page! While I have the pink out, might as well add some polka dots! This time I did them free hand.
finished of the page with some scribbling
well, I think that should be enough for now (that is, if you are even still here)! Hope you enjoyed my playing around and that I didn't over do it with all the pictures. I know it was a heavy one this time around.
Most products used here are available over at W2 Scrapbooking and I have tried to link accordingly along the way.













No comments:
Post a Comment