Showing posts with label glitz design. Show all posts

Monday, June 13, 2016

A little inspiration on Monday...

Here is a little inspiration for you on this wonderful Monday!  This first piece is my take on an Inspiration Wednesday (4.27.16) from Donna Downey.

I started with a black gesso'd page in my Canson Journal and once dried, applied a layer of DecoArt Media Medium Grey Value 6.  I let it dry a bit longer than I intended, but that's okay - really like how it worked out!  


I used one of my Stencil Girl stencil Marrakech 9x12" and laid it out on each side and started rubbing off the grey paint using a baby wipe.


After a good amount of elbow grease...I got my desired affect.


Next, I applied Modeling Paste thought a Donna Downey Stencil called Origin (DD075).


Once the modeling paste was (somewhat) dry, I used my Stabilo All Pencil (Black) and Donna Downey stencil Circles & Stripes (DD081) and picked out focal points.


I put a layer of DecoArt Media White Translucent paint down and allowed it to dry for a few minutes before rubbing most of it off with a baby wipe.  I was simply trying to create layers of colors and textures here.


Now it was time for yet another layer - this time, book paper.  


I applied the book papers using matte medium.

I tried using paints and glazes to accent colors on my circles...let's just say I am not very good at it! 


So I pulled out my Prima Oil Pastels.  


Mush happier with the results, find I can control the crayons way more than my fingers (go figure)!

Onto another Inspiration Wednesday (5.11.16).  This one was a fun one as I pulled out some scrapbook papers (hoarded ones no doubt as they are some of my coveted 7 Gypsies)!  I laid them onto my Canson Journal using Golden Regular Gel Medium (Matte)


Next came a pack of Glitz Design Whatnots Black & White Die Cuts.  I picked out a few pieces that I wanted to add to the page. 


I then used my Tim Holtz Sanding Tool to rough/age up the papers. 


Once I cleaned off the debris, I mixed up my own color for glazing using DecoArt Media Fluid Acrylics (Quinacridone Violet and Burnt Umber) 


After allowing it to dry for a couple minutes, I wiped off the access using a baby wipe.


I applied a few of the die cut pieces from the Glitz Design pack and used my distressing tool to rough them up a tad.


I pulled out one of my paint pens and  and drew around the tag.


added two of the heart die cuts from the set.  Sanded, roughed them up, inked them up then stapled them together after folding them in half to create lift.


Used my Fude Ball Brush Pen to add more emphasis on the die cuts. 


Added the stamped image "Journey" which is a very old Tim Holtz stamp from Stampers Anonymous.  I stamped it using Tim Holtz Picket Fence Distress Ink Pad then drew around it using my Fude Ball Pen.


Called it done at this point!  Be sure to pop back tomorrow for some more inspiration!

Monday, June 2, 2014

What If? Why Not?

...are questions I ask myself regularly when I am working in my craft room.  For so many years, we were (and in some cases are still being) told how we should be scrapbooking and how we should be using products - well as most of you know...I'm a tad bit of a rebel!  Last time I checked there were no 'Scrapbooking Police' out there that enforced how products had to be used.  I will start showing you some of my 'what if's' and 'why nots' here on the blog, I am sure some will be a success and and pretty sure some will be total flops - but honestly, that is the fun of it all!

This journal page will start it all off...

I have a fascination with anything kraft (and red and black) - honestly, my favorite combo!  So that is what inspired me to play with some Kraft light weight paper and Ink Refresher....very cool effect!  Once that was dried, I sprayed with Mister Huey's and Color Wash.  I sprayed the base of my art journal page witht he same colors and then added the manipulated scrap sheet  of kraft paper and adhered it to the page using Multi Medium.


Here comes my first 'What If?' - What if you mix Alcohol Ink with Modeling Paste? What's the worst that can happen?  


Worse that happened is that it breaks down the modeling paste.  But also, I can still work with that.  Not overly happy with the dull color, so...


Why Not?  Let's see what happens when we add Perfect Pearls (something that is in my tickle trunk and never use)!


here goes nothing!


liking the look of this one! 


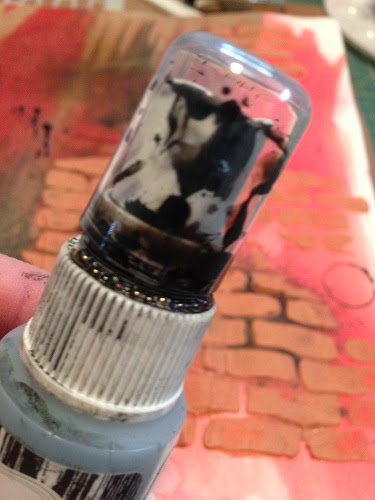
So what does one do with a leaky top?


Waste not want not...I want to use it!


Once the modeling paste was dry, I stamped on it using Ranger Ink Archival Jet Black Ink and a Kaisercraft Texture Stamp Numbers


to get the drips, I simply unscrewed the top of the Mister Huey's and flicked it onto the page.


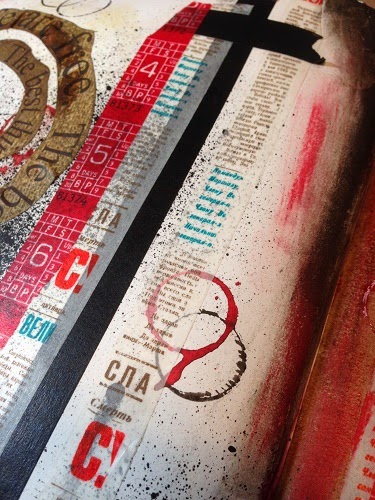
Added some Washi Tape, 7 Gypsies Ephemera and more ink...looking good!  The background on this page is simply taking of the lid of the Adirondack Color Wash Red Pepper and poured some into a palette tray then used a very wet brush to pick up the liquid and painted my page!


Here is some more Washi Tape and the verse is cut out of a sheet of Glitz Design Paper Layers Color Me Happy (I think)!


Now it is time to add what seems to be a must for me on every page...gelatos!  Used Black and Red accents on the edges...so love this look!


Thanks for stopping by...I'll try and be back soon!


That Other Neutral Triptych

  That Other Neutral Triptych wrapped canvases 10x10x1.5" (x3) professional grade artist materials I worked on this smaller series at ...