Showing posts with label 7 Gypsies. Show all posts

Wednesday, June 15, 2016

I was inspired by...

Dina Wakley!  Who wouldn't be!!  I took inspiration from a Dina Wakley inspired stamp...yes a stamp!!  I also wanted to use all blue, okay - as much blue as I could, of Dina's Heavy Body Paints.  So I pulled out four from her palette of colors - Lapis, Sky, Turquoise and Ocean and dry brushed them on in a 'dina like' way.

I pulled out Dina Wakley Media Stencils (Essentials) and rubbed off some of the paint using baby wipes.  Then I took some of the Lapis paint and using one of my pouncers, dabbed it through another Dina stencil (Affirmation), being sure to only pick up a few of the words.


Now I got this image off of Pinterest, from one of Dina's boards (her stamps I believe).  It is a smaller stamp from what I can see, but since I am working in a large 9x12 journal, I needed it larger.  I simply copied the image and pasted it to a word doc and made it a large as I needed.  I knew I was going to do an image transfer, so it being perfect was not an issue for me.  I cut if our once printed and figured out where on the page I wanted it.


I spread out some Golden Regular Gel (Matte) first then laid the printed image on top.  Smoothed it out with my fingers and waited simply 30 or so seconds and....
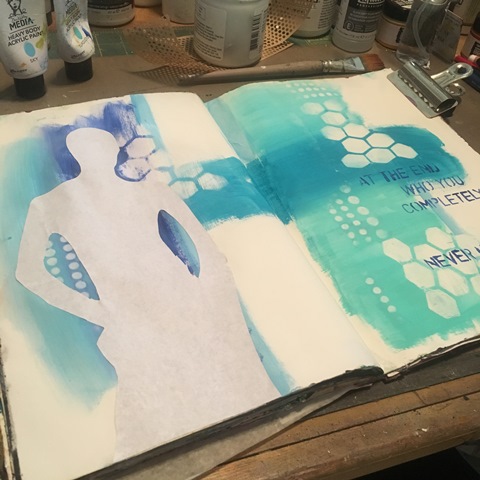

This is what I got.  I know it is not as dark as I would have liked, but I am okay with it.  Made me think of more ways to get to my desired affect.


I painted on black gesso with a smaller brush.  As I waited for it to dry, my roll of Easy Joint Tape was calling out to me, so of course I complied!  I adhered a few pieces down using Matte Medium.
 

I then scraped a bit of Super Heavy Gesso (White)  over the taped pieces so they would not stand out so much (as being tan/brown).


Next I pulled out my Fineline Applicator filled with White Fluid Acrylic and Airbrush Medium and scribbled across the 'shadow'.  I also. dripped random dots over the pages to add a little something.


One of the great things about taking photos along the way, allows you to see your work in a different eye....literally!  The eye of the camera can tell you a lot.  In this case, it told me I needed to extend the scribbles on the shoulders and arms. 


At first I was going to use my Fineliner that was filled with black, but seeing that the white scribbles had dimension, I figured I it would make the tip skip and I didn't want that.  So in turn, I used one of my black pens instead - Fude Ball (black).


Really enjoyed this one! Some of the more simplest ones are the most rewarding!  Then you have ones that should be easy, and turn in to the ones that cause you the most headaches....

like this one!

This was going to be the start of the Weekend Junket #12.  It was a cast off page that I really like and thought adding some 7 Gypsies ephemera would be really cool.  I placed it all down, roughed p the edges of all the ephemera, adhered them down using Matte Medium.


Added a few staples here and there...


Ya, it just wasn't working for me.

So when in doubt...add gesso (right?)!


This is how it stands right now.  I simply do not know what to do next (yet).  I have turned the page for now and will come back to it when the idea strikes!

So off for now to see if I can create something new and inspiring!

Monday, June 13, 2016

A little inspiration on Monday...

Here is a little inspiration for you on this wonderful Monday!  This first piece is my take on an Inspiration Wednesday (4.27.16) from Donna Downey.

I started with a black gesso'd page in my Canson Journal and once dried, applied a layer of DecoArt Media Medium Grey Value 6.  I let it dry a bit longer than I intended, but that's okay - really like how it worked out!  


I used one of my Stencil Girl stencil Marrakech 9x12" and laid it out on each side and started rubbing off the grey paint using a baby wipe.


After a good amount of elbow grease...I got my desired affect.


Next, I applied Modeling Paste thought a Donna Downey Stencil called Origin (DD075).


Once the modeling paste was (somewhat) dry, I used my Stabilo All Pencil (Black) and Donna Downey stencil Circles & Stripes (DD081) and picked out focal points.


I put a layer of DecoArt Media White Translucent paint down and allowed it to dry for a few minutes before rubbing most of it off with a baby wipe.  I was simply trying to create layers of colors and textures here.


Now it was time for yet another layer - this time, book paper.  


I applied the book papers using matte medium.

I tried using paints and glazes to accent colors on my circles...let's just say I am not very good at it! 


So I pulled out my Prima Oil Pastels.  


Mush happier with the results, find I can control the crayons way more than my fingers (go figure)!

Onto another Inspiration Wednesday (5.11.16).  This one was a fun one as I pulled out some scrapbook papers (hoarded ones no doubt as they are some of my coveted 7 Gypsies)!  I laid them onto my Canson Journal using Golden Regular Gel Medium (Matte)


Next came a pack of Glitz Design Whatnots Black & White Die Cuts.  I picked out a few pieces that I wanted to add to the page. 


I then used my Tim Holtz Sanding Tool to rough/age up the papers. 


Once I cleaned off the debris, I mixed up my own color for glazing using DecoArt Media Fluid Acrylics (Quinacridone Violet and Burnt Umber) 


After allowing it to dry for a couple minutes, I wiped off the access using a baby wipe.


I applied a few of the die cut pieces from the Glitz Design pack and used my distressing tool to rough them up a tad.


I pulled out one of my paint pens and  and drew around the tag.


added two of the heart die cuts from the set.  Sanded, roughed them up, inked them up then stapled them together after folding them in half to create lift.


Used my Fude Ball Brush Pen to add more emphasis on the die cuts. 


Added the stamped image "Journey" which is a very old Tim Holtz stamp from Stampers Anonymous.  I stamped it using Tim Holtz Picket Fence Distress Ink Pad then drew around it using my Fude Ball Pen.


Called it done at this point!  Be sure to pop back tomorrow for some more inspiration!

Tuesday, April 26, 2016

a little inspiration....on tuesday

This past weekend I took a few hours each morning and made time for me.  This is what came of it.

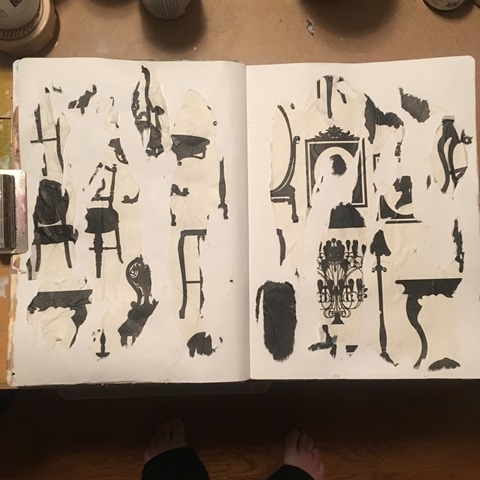
This is the continuation of the 'Tale of Three Pages" saga - this was me trying the idea using Tissue Paper (in this case, 7 Gypsies Collage Tissue Creme Silhouettes) and Matte Medium.  Being a bit sheepish this time around, I only applied the Matte Medium with a palette knife in a rough application and laid the tissue over top and let it dry fully.


I tore off the tissue where there was no matte medium, it was a bit bare in some areas so I simply added more to the spots and once again let it dry.


I applied a coat of Clear Gesso  so that the next layers would grip and also allow me to wipe away what I wanted.  When the Gesso was dry, I applied some Titan Buff paint using my Silicone Brush.
 

This is where is might have gone a bit sideways!  I was thinking I would use my DecoArt Antiquing Creams and continue on with the peeled paint effect... 
Again, applying with my Silicone Brush, Once dried, rubbed off with baby wipe.  It was too dark for my liking, so scraped on some more Titan Buff. 


Now went over with a coat of the Grey Antiquing Cream and once dried, thought I would ghost through a stencil (Crafter's Workshop Viva la Art TCW488)


Was liking how it was going, so continued on using a few of the Tim Holtz Layering Stencils (Lattice Work THS019, Chevron THS024, and Numeric THS054) 


I liked it, but once again, got ahead of myself and ended up covering it all with the Cream before sealing it so it too would not come off...oops! So thought I might try going the same root again, but stopped part way through when I figured I was not going to get the effect I had intended. 


So more paint (antiquing creams) it was! 


Tried doing a few ghosting passes , but was again not getting what I wanted.  This time I was using the Tim Holtz Layering Stencil Countdown (THS058)


Then I ended up adding a few passes with the Industrial (THS051) stencil as well. 


Now I pulled out my DecoArt Chalk Paints and applied them over some Dorland's Wax.  I applied the wax using my finger over the areas I did not want the paint to stick.  Once it was dry, I rubbed off with baby wipe.


I repeated the same technique however this time I used a different color paint.


You can see I tried using a Dina Wakley Stencil (Alphabetic) but was not getting a crisp enough image. 


So I decided to apply some of the next layers using a brayer.  I ended up blending two of the DecoArt paints to get a color I was happy with (American Decor Chalky Finish Rouge and DecoArt Media Antiquing Cream English Red Oxide).


Then I thought I would try the ghosting again... 


Wasn't happy - so went in a totally different direction - again.  I pulled out one of my large stencils (purchased at staples) and applied Light Modeling Paste in a jumbled format.  Now it had to dry.


Once it was totally dried, I went over it with a glazed layer of DecoArt Media Burnt Umber.


When I wiped it off, wasn't happy with color, so added another layer, this time glazing with Quinacridone Gold


This is how it sits for now.  Will no doubt go back for more on the right side - but for now...I've turned the page!


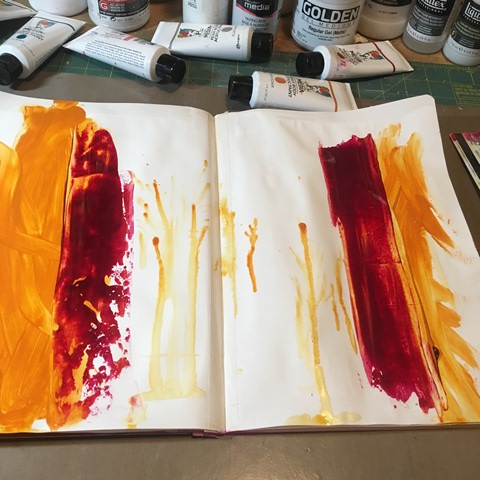
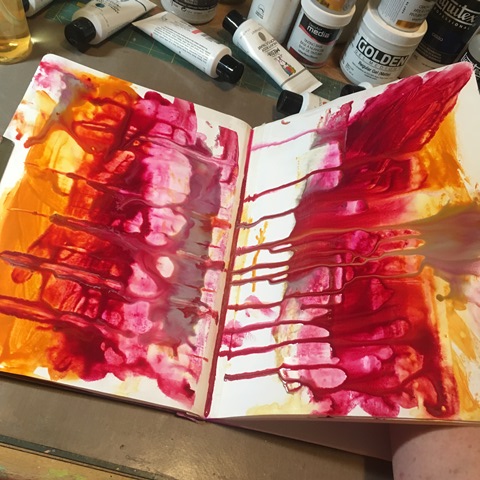
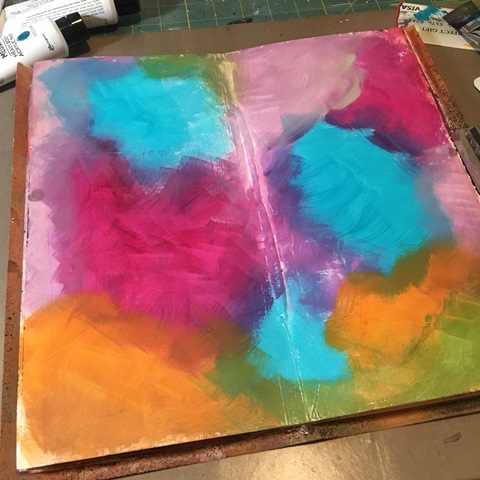
My next page was intended to be an abstract painting in my journal...again, not quite what I intended.  I started out with a gesso'd page and pulled out the newest color release from Dina Wakley.  I applied using a hotel key card and a lot of water. 


Not being at all happy with it - I stated to finger paint over it all (still using Dina's paints). 


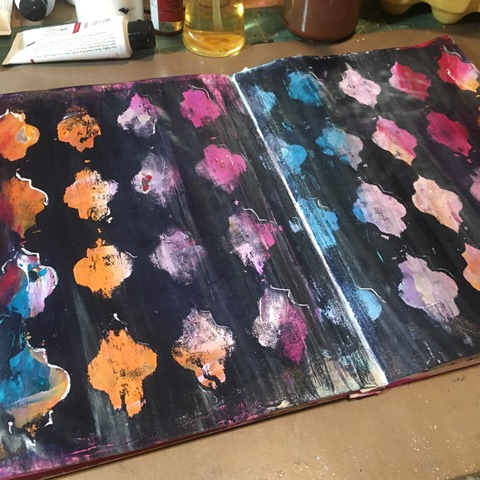
  I then pulled out my brayer and Dina's Night and brayered over the entire page. I had originally planned on using the Donna Downey Keyole Splatter Stencil (DD015), but then ended up switching to Crafter's Workshop Alhambra (TCW487) 


 This is where this one stands for now as well.  May leave it as is...but you never know! 


Then, if you follow me on Instagram (@w2scrpbk) or Facebook you will have seen me posting a few pages in progress over there too.  Here is one I was working on using the new Faber Castell Paper Crafter Crayons and Gelatos. 

Using a gesso'd page, I started coloring and blending the  crayons.  I found quickly that I did not like the crayons by themselves, but when I added the Gelatos to the party...woohoo!! 


Stencil Girl Stencil Warped Holes used to ghost with baby wipe.  I moved the stencil around to suit me and get the coverage I wanted.


Sorry, this is where I forgot to take photos!  I laid out a Crafter's Workshop Stencil (the guts part) of  Casey & Penelope (TCW355) along with Sunrays TCW353s (both designed by Dina Wakley).  I sprayed with my mix of airbrush medium and black paint.  I was careful not to spray too much as I still wanted the background to come through.  Once it was dried, I scribbled using my fineliner filled with white paint.


The final one I worked on over the weekend was again using Dina Wakley's newest color release.  Did it in my newest homemade journal (12x12").  Sorry for the lack of photos on this one, but it is pretty easy to follow.  I dry brushed the colors on using my 1" Dina brush (my fave by far).  The colors blend beautifully.


Once dry, I again dry brushed on White paint making sure the brush strokes were visible.  


Now using my Dina Wakley Media Halves Stencil, wiped off randomly in a pattern.  Sometime trying harder to get right to the base while rubbing off the white.


Again, this is where this one stands, really like it - but guessing I will do something more to it eventually.

For now...I am off.  Heading to North Carolina to take part in Donna Downey Studio's Inspired Artist Workshop.  Can't wait to be inspired...

see you next week.

That Other Neutral Triptych

  That Other Neutral Triptych wrapped canvases 10x10x1.5" (x3) professional grade artist materials I worked on this smaller series at ...